14 IKEA KALLAX TV Unit Ideas for Small Spaces
An IKEA KALLAX TV unit is the shelving system used horizontally beneath a mounted or freestanding TV, with select cubes fitted for media storage while others stay open for styling, all within a footprint small apartments can actually spare. This article gives you 14 specific, buildable ideas for turning a KALLAX unit into a genuinely functional and good-looking TV console. There’s a particular satisfaction to a well-outfitted KALLAX media unit: cables tucked out of sight, a few open cubes styled with books and ceramics instead of a wall of black electronics, a piece that reads as furniture rather than a rack. It borrows from both the modular flexibility that made KALLAX popular in the first place and the current “hidden tech” trend in TV console design, which is exactly why it adapts so well to almost any small living room. Here are 14 ideas worth saving — and stealing.
Why KALLAX TV Unit Style Works So Well
KALLAX TV unit design draws from two traditions: the modular, endlessly reconfigurable IKEA hacking approach that treats the base grid as a blank canvas, and the “hidden tech” movement in modern furniture design that prioritizes concealing cables, routers, and consoles behind closed fronts rather than leaving them exposed. What makes a KALLAX TV setup distinct from a generic media console is its mixed-use structure — unlike a cabinet built purely for electronics, KALLAX naturally supports a blend of concealed tech storage and open display cubes in the same footprint.
The material and color language spans painted MDF door inserts in warm white or matte black, oak-veneer trim to soften the unit’s edges, and woven baskets or fabric bins in oat and clay for the open cubes holding remotes, cords, or media. Cable management hardware stays simple and low-profile, favoring cord clips and back-panel grommets over bulky raceways.
This style is trending now because more people are living in smaller apartments where a TV and its supporting electronics need to share a wall with actual living space, and KALLAX remains the most affordable, most-owned base unit for a DIY solution. Search data for “KALLAX TV stand” and “hide TV cables IKEA” has climbed steadily as more renters look for low-commitment ways to make a media wall feel considered rather than purely functional.
Small spaces are the entire premise of this style, since a horizontal KALLAX run is one of the lowest-profile ways to support a TV while still adding real storage. Prioritize concealing the router and cable box in a closed cube before styling any of the open ones, since tidy cables affect the room’s overall look more than any single decorative object.
Style at a Glance
| Element | Concealed Tech System | Open Display Mix |
|---|---|---|
| Philosophy | Hidden, cable-managed | Styled, mixed-use |
| Materials | Painted MDF, oak trim | Woven baskets, ceramics |
| Color palette | Warm white, matte black | Oat, clay, oak |
14 IKEA KALLAX TV Unit Ideas for Small Spaces
1. Warm White Painted Door Front Row
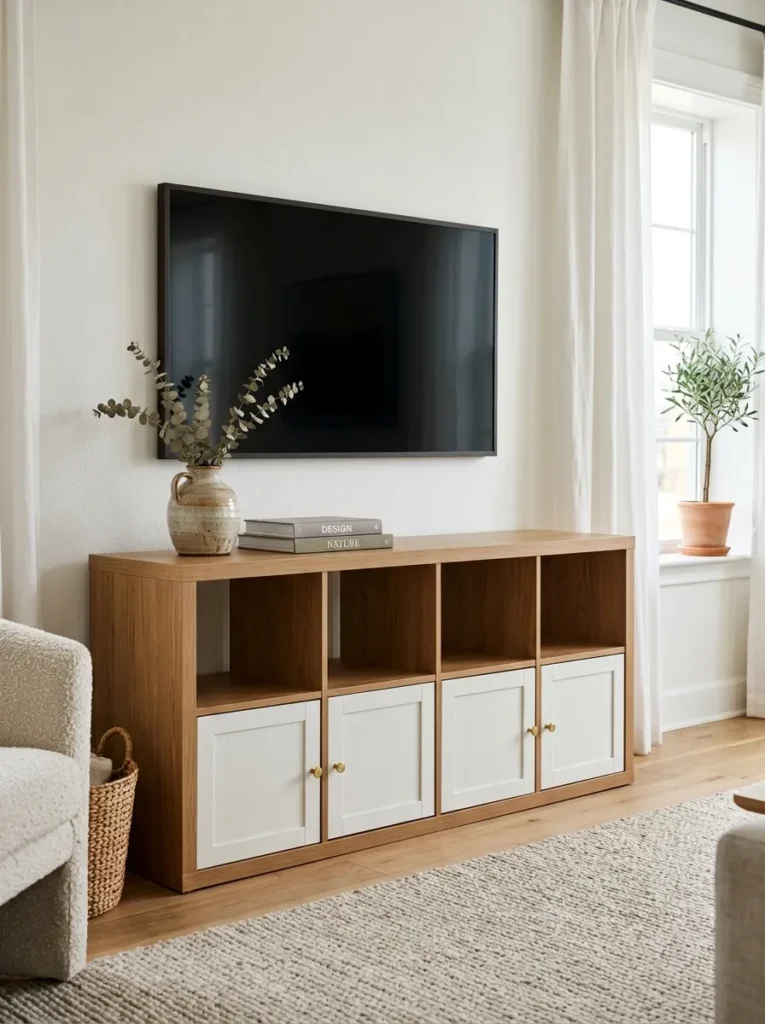
Vibe: Clean, like the electronics simply disappeared behind a wall of calm color.
Why it works: Painted door fronts across the full row conceal cable boxes and routers entirely, a material principle that lets the unit read as a piece of furniture rather than visibly signaling “media storage” the way open cubes with a TV box do.
How to get it: Fit warm white painted MDF door inserts across the two cubes directly beneath the TV, keeping the remaining cubes open, and add slim brass knobs centered on each door for a clean furniture-grade finish.
Shop the Look
| Product |
|---|
| Warm white painted MDF door insert pair |
| Brass cabinet knob hardware set |
| Small ceramic vase warm white |
| Oak wood top surface tray |
| Cable management clip kit |
Also view: 17 Mason Jar Projects for Cozy Home Decor
2. Matte Black and Oak Two-Tone Console
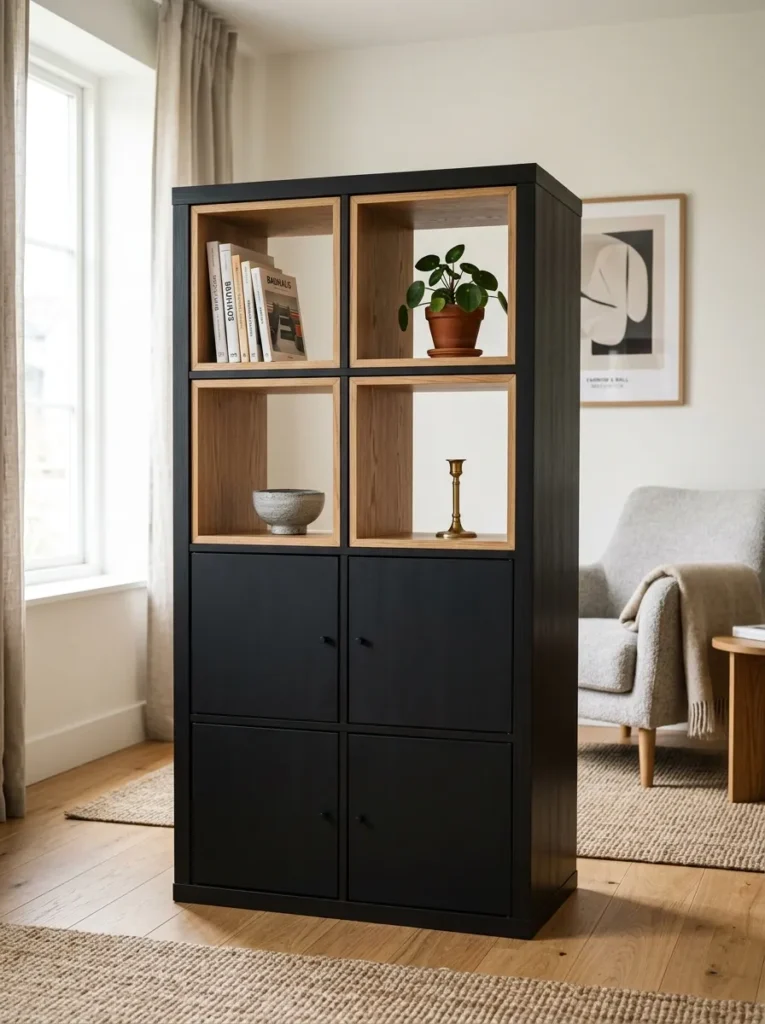
Vibe: Modern, like the console earned its place as the room’s anchor piece.
Why it works: Pairing matte black doors with warm oak trim mixes a cool, concealing material with a warm, textural one, a contrast principle that keeps the unit from reading as either too stark or too plain wood-box.
How to get it: Fit matte black painted door inserts on the two cubes closest to the floor, then apply thin oak veneer edge trim along the unit’s front face so the wood frames the black doors like a picture rather than blending into them.
Quick Win: Adhesive oak veneer edge banding applies in an afternoon without needing any actual woodworking tools.
Shop the Look
| Product |
|---|
| Matte black painted MDF door insert pair |
| Oak veneer edge trim adhesive strip |
| Woven storage basket small |
| Small ceramic bowl |
| Cable grommet kit |
3. Concealed Router and Cable Box Cube
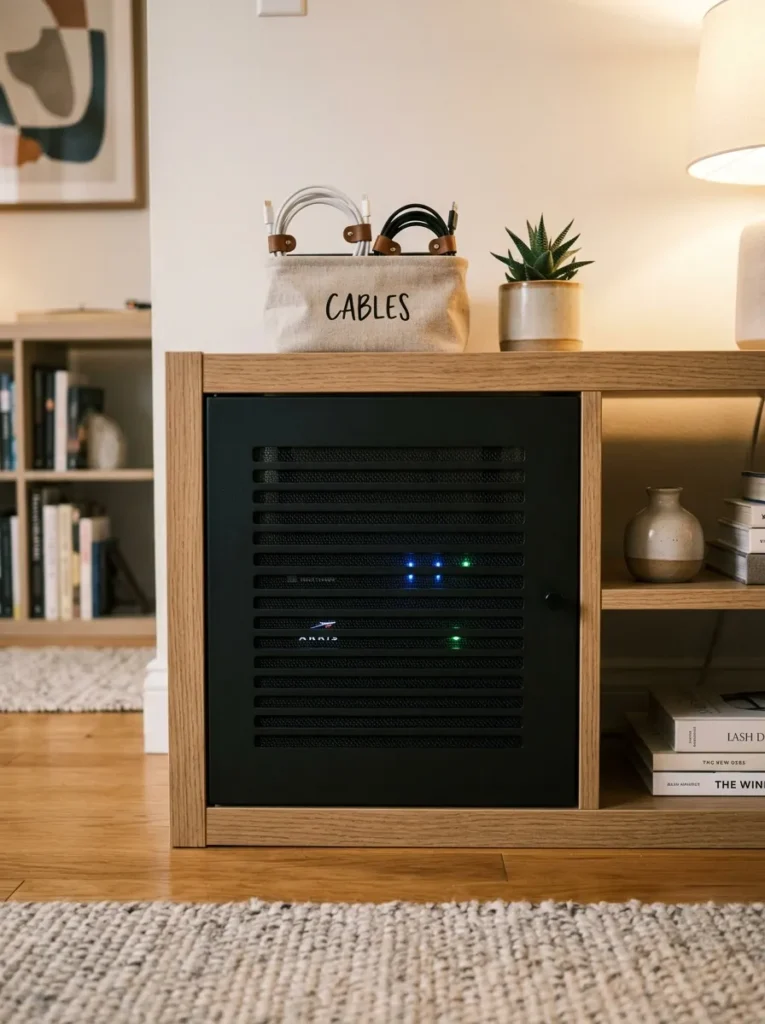
Vibe: Functional, like the tech is still working hard, just not visibly.
Why it works: A ventilated door insert conceals bulky, unattractive electronics while still allowing airflow and signal pass-through, a material choice that solves the specific tension between hiding tech and keeping it functional.
How to get it: Fit one cube with a door insert that has small routed ventilation slats or a mesh panel, feeding cables out through a rear grommet hole cut into the unit’s back panel so nothing is visible from the front.
Shop the Look
| Product |
|---|
| Ventilated door insert with mesh panel |
| Rear cable grommet kit |
| Canvas cord organizer wrap |
| Small power strip surge protector |
| Cable management clip set |
4. Woven Basket Remote and Media Storage
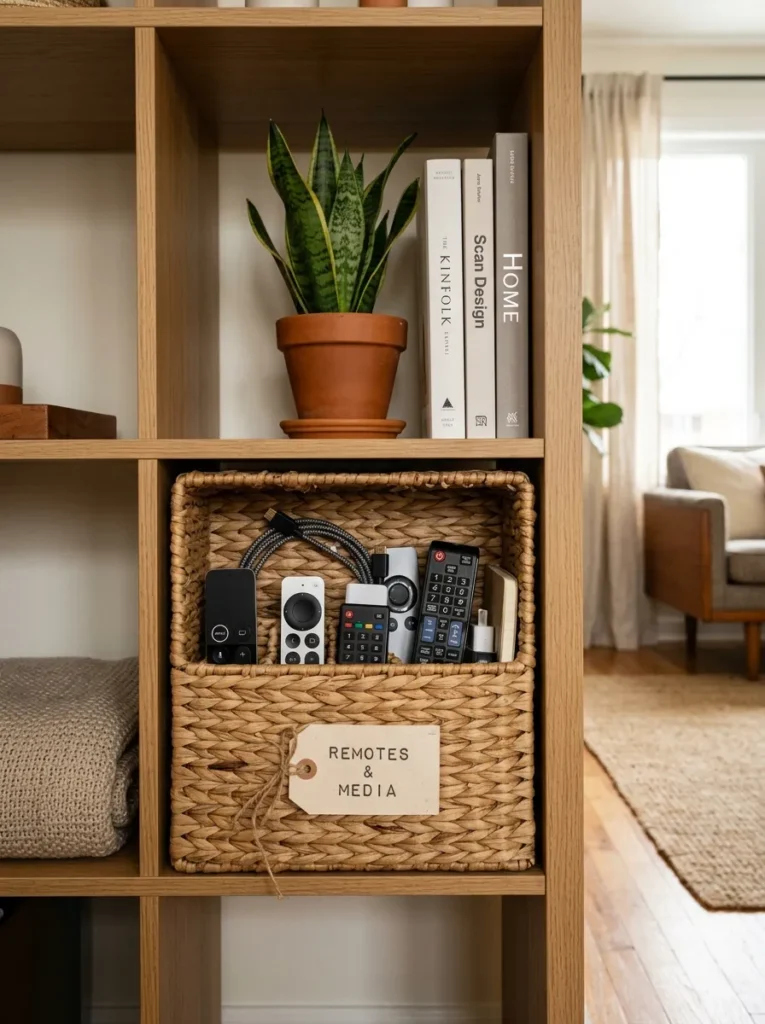
Vibe: Warm, like even the remotes got a proper home instead of a couch cushion.
Why it works: A basket contains small, oddly shaped remotes and cables that would otherwise clutter an open cube, a material choice that keeps the display style intact while still solving the daily annoyance of lost remotes.
How to get it: Fit one open cube with a seagrass basket sized to 13×13 inches, keeping it in the cube closest to the seating area so remotes stay within easy reach without being visible from the front.
Shop the Look
| Product |
|---|
| Woven seagrass storage basket 13×13 |
| Canvas label tag set |
| Felt basket liner protector |
| Oak wood top surface tray |
| Small ceramic decor object |
5. Small Space TV Bridge Shelf Extension
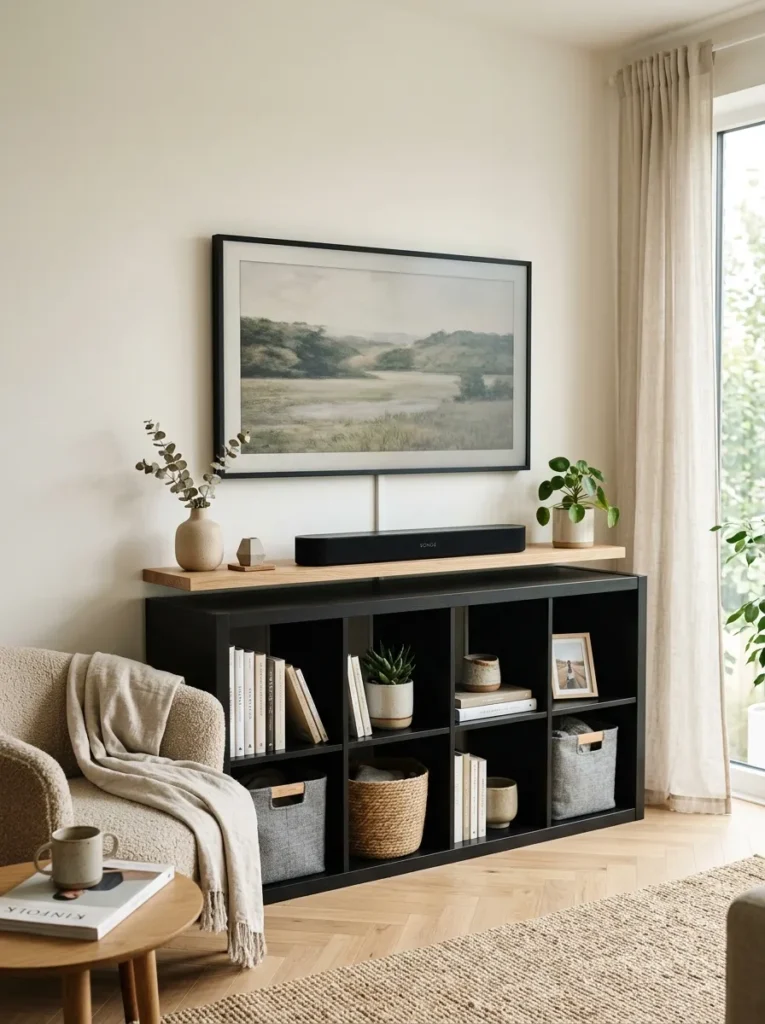
Vibe: Efficient, like the sound system found its exact right spot.
Why it works: A slim bridge shelf mounted above the KALLAX unit but below the wall-mounted TV uses vertical space between the two that would otherwise sit empty, a small-space technique that adds a dedicated soundbar shelf without requiring extra floor footprint.
How to get it: Mount a slim oak shelf on brackets directly above the KALLAX unit, sized to the soundbar’s width, positioning it low enough to clear the TV’s bottom edge by at least 2 inches.
Shop the Look
| Product |
|---|
| Slim oak wood bridge shelf |
| Matte black shelf bracket pair |
| Small ceramic decor object |
| Cable clip mounting kit |
| Wall anchor screw set |
6. Oat and Clay Bin Color Blocking
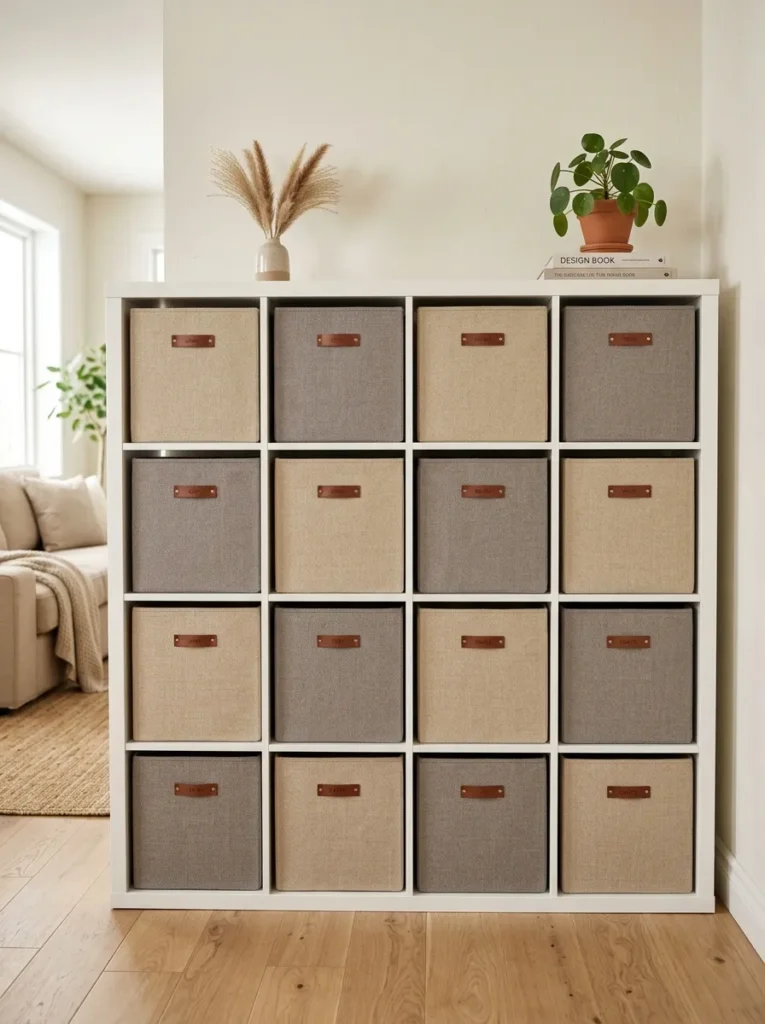
Vibe: Layered, like the whole console reads as one considered palette instead of a mismatched grid.
Why it works: Alternating two closely related warm tones across the open bins uses color rhythm to unify a media unit that might otherwise look visually chaotic once remotes, games, and cords are all tucked inside.
How to get it: Fill the open cubes in an alternating oat and clay pattern, assigning each bin a category, like clay for gaming accessories and oat for media, so the color pattern also communicates organization.
Shop the Look
| Product |
|---|
| Oat fabric storage bin 13×13 |
| Clay fabric storage bin 13×13 |
| Canvas label tag set |
| Felt bin liner insert |
| Oak wood top surface tray |
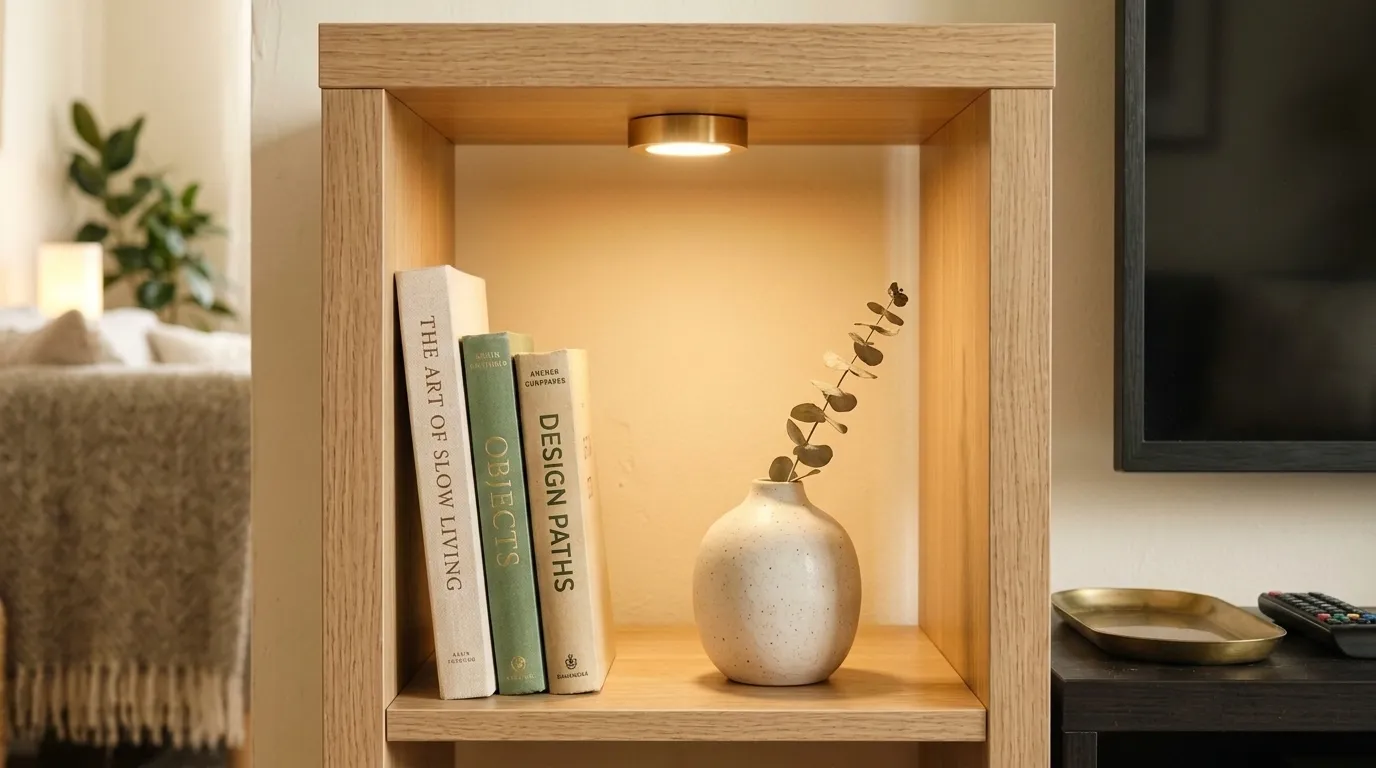
7. Warm Puck Light Display Cube
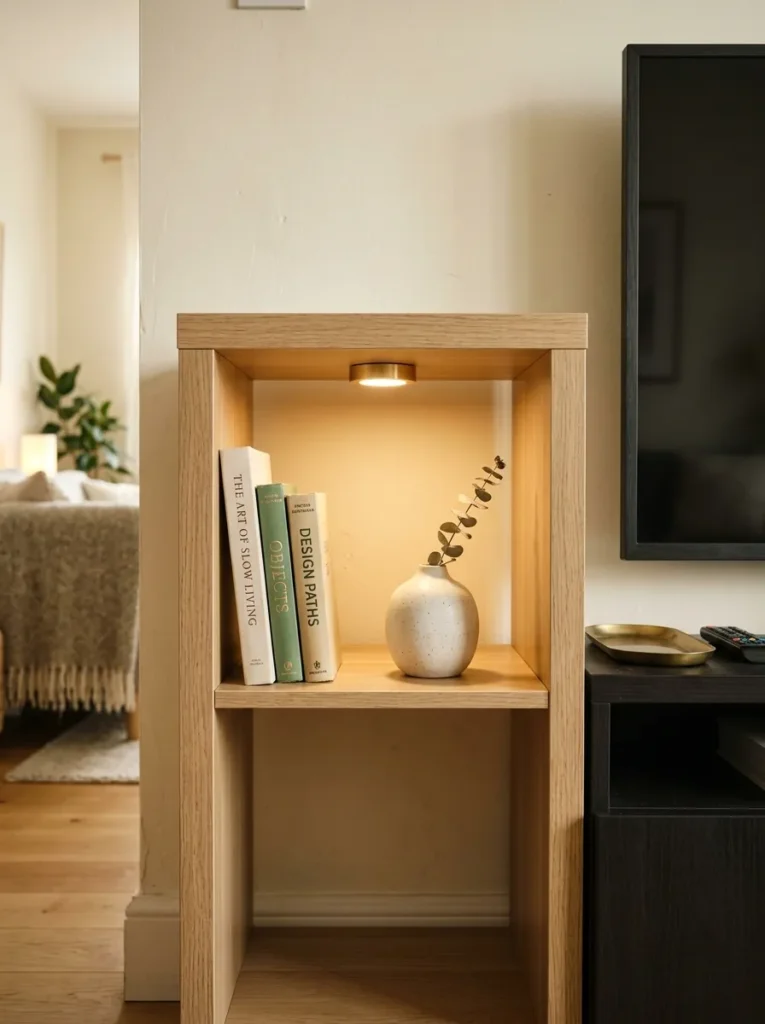
Vibe: Still, like one small cube got singled out for something special.
Why it works: Leaving a single cube open and lit rather than filling it with electronics or bins uses light behavior to create a visual break within a media wall, keeping the whole unit from reading as one flat wall of function.
How to get it: Install one small battery-powered brass puck light inside a single open cube, angled to highlight one object like a ceramic vase or small book stack, positioned at the end of the row farthest from the TV itself.
Quick Win: Battery puck lights stick on with adhesive and need no wiring near the TV’s existing cable clutter.
Shop the Look
| Product |
|---|
| Brass battery-powered puck light |
| Small ceramic decor object |
| Oak wood book stack set |
| Adhesive mounting strip kit |
| Warm white LED puck bulb |
8. Layout: Zoned Console by Function
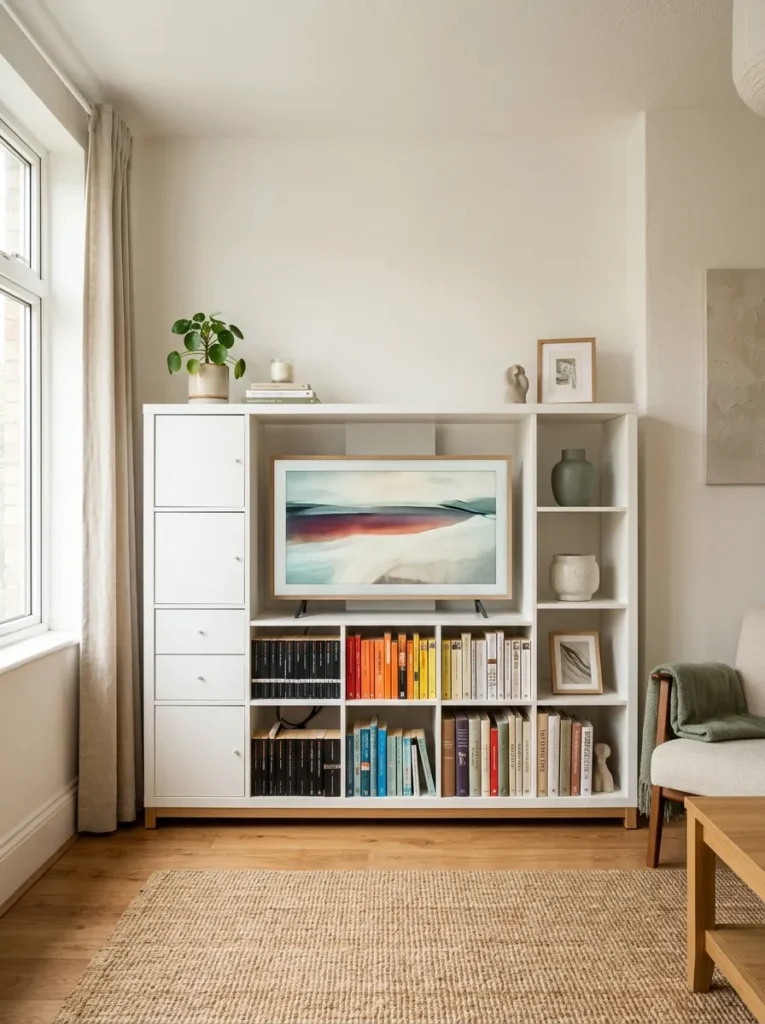
Vibe: Organized, like the unit quietly does three jobs at once without looking busy.
Why it works: Assigning each section of the unit’s width to a distinct function, tech, clearance, and display, uses the layout principle of zoning, so a single long horizontal run reads as intentional sections rather than one undifferentiated wall of cubes.
How to get it: Fit the leftmost two cubes with closed doors for electronics, leave the center cubes open beneath the TV’s mounting point for cable clearance, and style the rightmost cubes with books and ceramics for a clear visual ending point.
Shop the Look
| Product |
|---|
| Warm white painted door insert pair |
| Small potted plant faux |
| Oak wood book stack set |
| Small ceramic vase warm white |
| Cable management kit |
9. Small Nook Gaming Console Charging Drawer
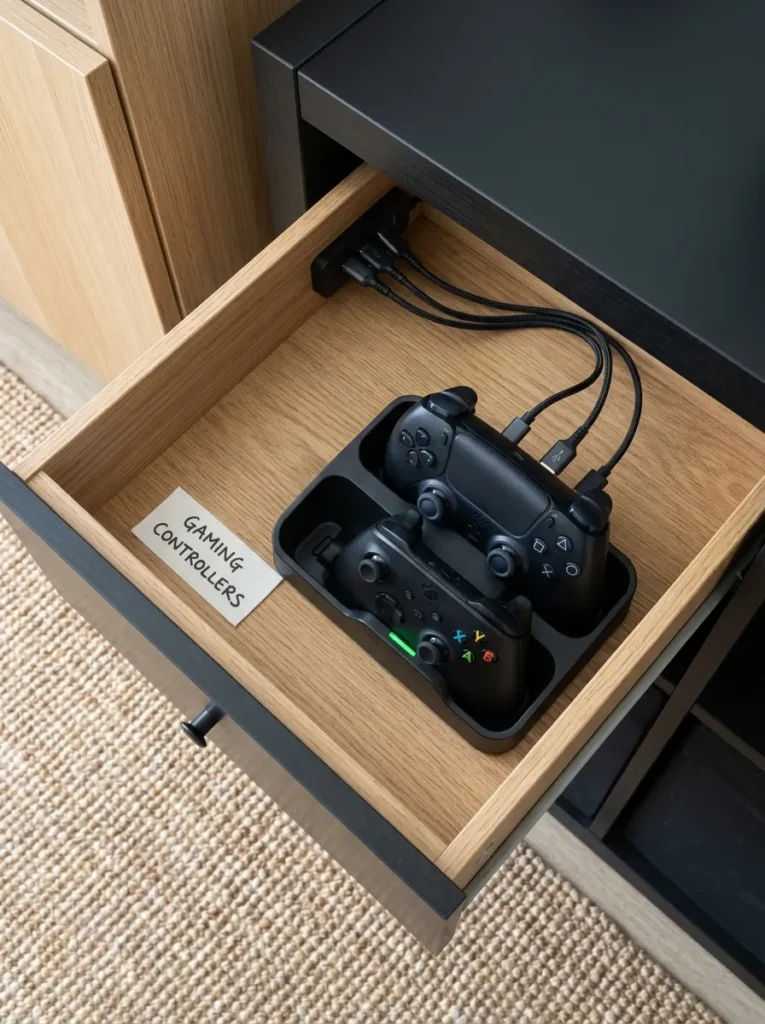
Vibe: Functional, like game night finally has a dedicated home base.
Why it works: A shallow drawer with a built-in charging dock keeps controllers contained and charged without cluttering the shelf surface, a function-first design choice that matters more than aesthetics in a cube that sees daily use.
How to get it: Fit a shallow oak drawer insert with a small multi-port charging dock screwed to its base, routing the power cable through a rear grommet hole so it stays hidden when the drawer is closed.
Shop the Look
| Product |
|---|
| Shallow oak drawer insert |
| Multi-port controller charging dock |
| Rear cable grommet kit |
| Canvas label sticker sheet |
| Felt drawer liner |
10. Warm Oak and Brass Material Mix Console
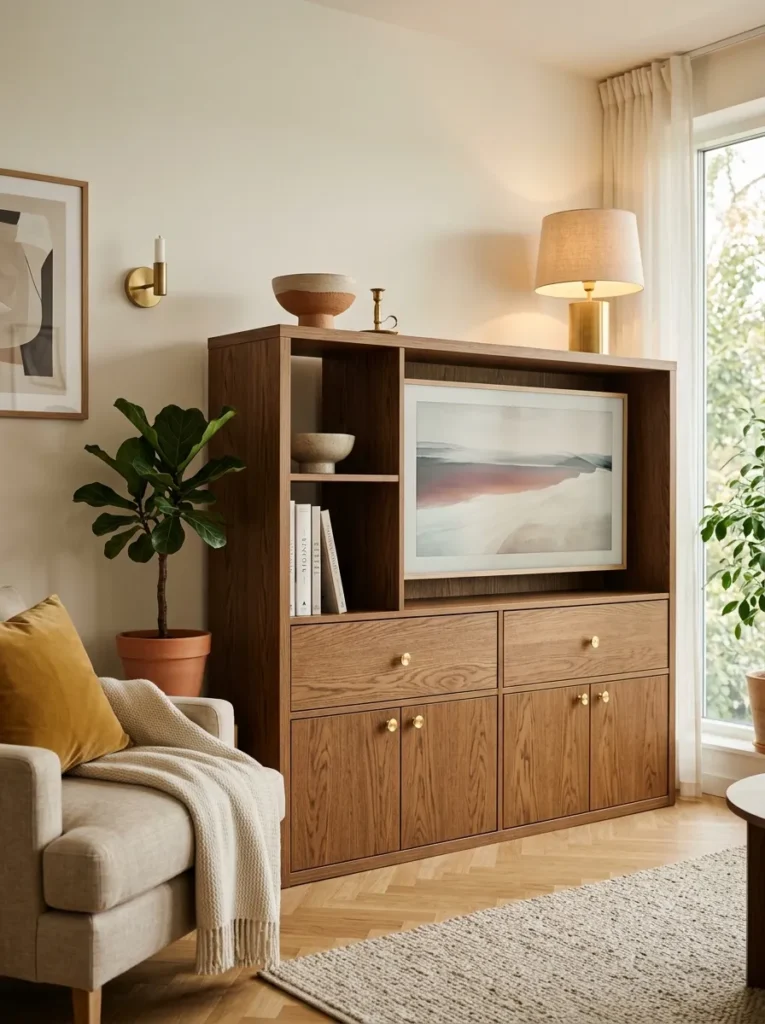
Vibe: Elevated, like a budget shelving unit became genuinely furniture-grade.
Why it works: Applying oak veneer panels over the base MDF and swapping in brass hardware throughout mixes a warm natural material with a reflective metal accent, a texture contrast principle that elevates the unit’s overall presence in the room.
How to get it: Apply adhesive oak veneer sheeting to the unit’s visible front edges and any door fronts, then replace all standard hardware with matching brass pulls so the two materials repeat consistently across the whole piece.
Shop the Look
| Product |
|---|
| Oak veneer adhesive sheet large |
| Brass door pull hardware set |
| Small ceramic bowl warm white |
| Warm white ceramic vase |
| Felt furniture pad set |
11. Small Space Vertical Media Column
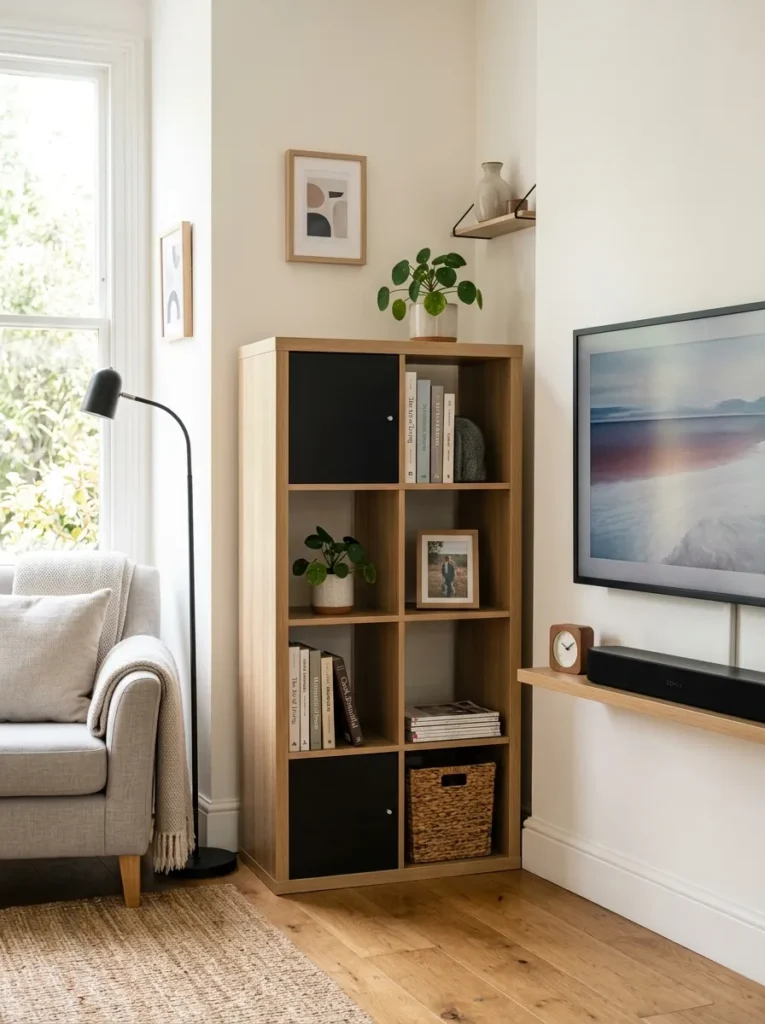
Vibe: Efficient, like a narrow corner did the work of a full media wall.
Why it works: Standing the unit vertically beside a wall-mounted TV rather than horizontally beneath it uses floor space differently, an illusion technique that works better in a narrow room where a wide horizontal console simply wouldn’t fit.
How to get it: Position a two-cube-wide, four-cube-tall KALLAX column immediately beside the TV rather than centered under it, fitting the lower cubes with closed doors for electronics and the upper cubes for open display.
Quick Win: This vertical configuration uses the exact same KALLAX unit as the horizontal layout, just reoriented, so no new furniture purchase is needed if you already own one.
Shop the Look
| Product |
|---|
| KALLAX 2×4 vertical unit |
| Warm white painted door insert pair |
| Small ceramic bookend pair |
| Woven basket for cords |
| Wall anchor tip-over strap kit |
12. Layout Flow: TV Unit Set Back from Seating Path
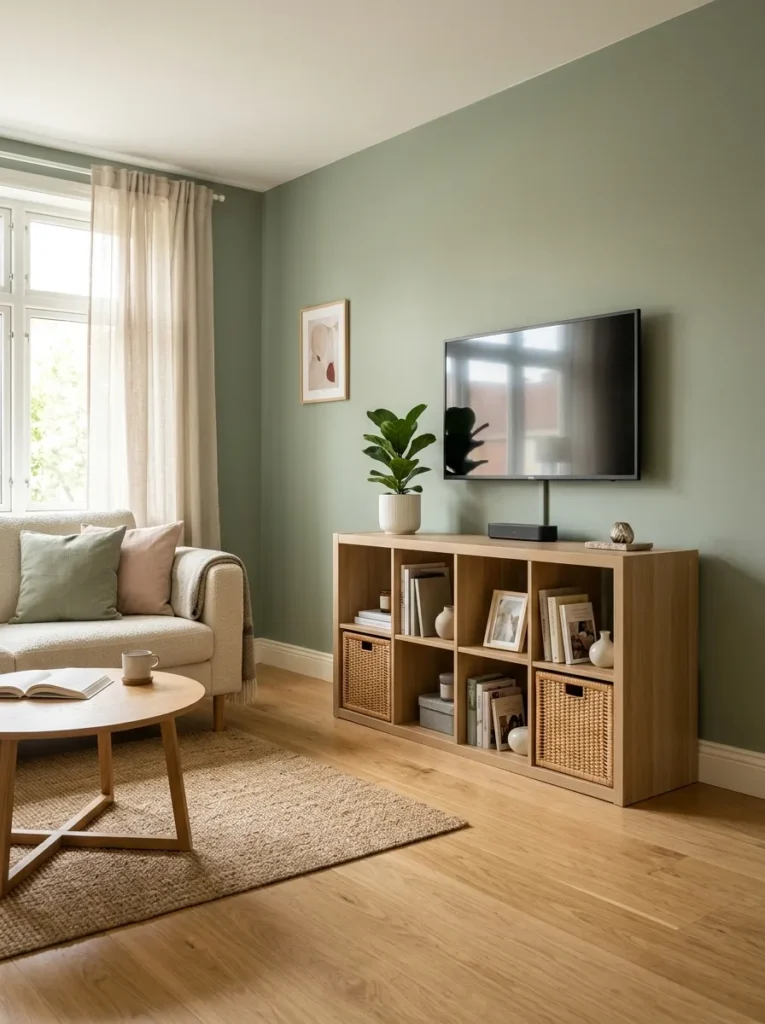
Vibe: Organized, like the room was mapped out before the TV unit ever went in.
Why it works: Keeping the unit flush against the wall with clear floor space maintained toward the seating area respects natural traffic flow, a layout principle that prevents a media console from becoming an obstacle in a small living room’s main walking path.
How to get it: Position the KALLAX unit flush against the wall opposite the seating, keeping at least 30 inches of clear floor space between the unit’s front edge and the nearest chair or sofa arm.
Shop the Look
| Product |
|---|
| KALLAX horizontal 4×2 unit |
| Small potted plant faux |
| Warm white ceramic vase |
| Jute area rug anchor |
| Cable management kit |
13. Small Nook Cookbook-Style Media Ledge
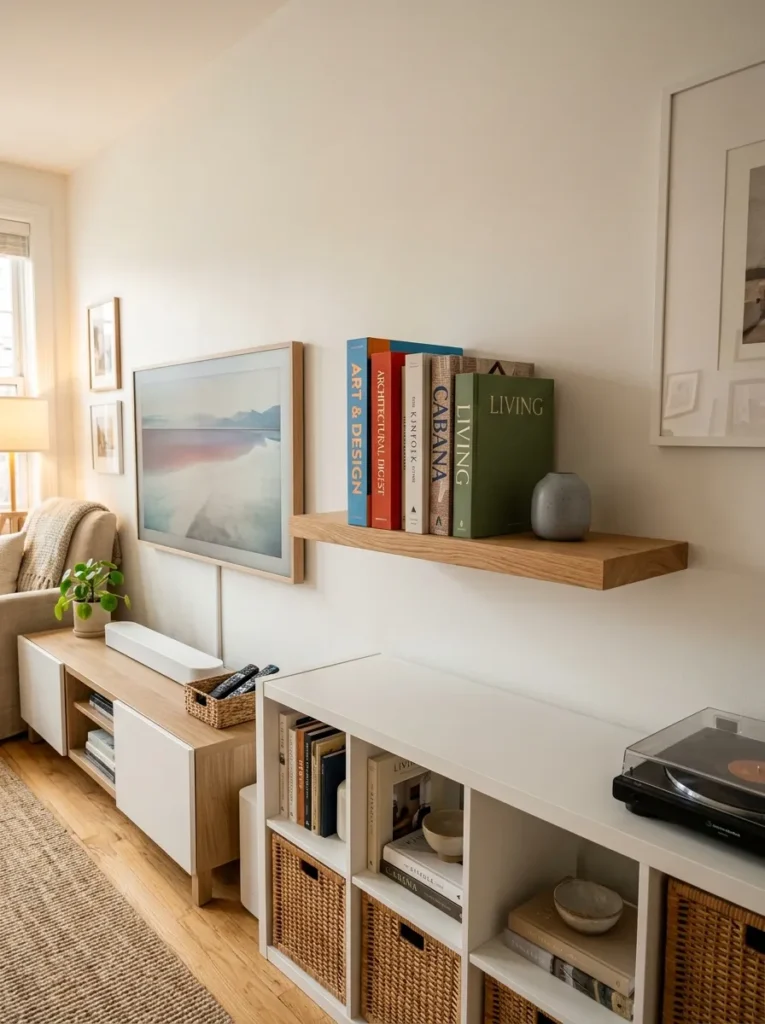
Vibe: Efficient, like the sliver of wall beside the TV finally earned its keep.
Why it works: A shallow ledge only needs a few inches of depth to hold books upright, an illusion technique that fits genuine display storage into a narrow wall gap beside the TV that a standard shelf wouldn’t fit into.
How to get it: Mount a shallow oak ledge, no more than 4 inches deep, on the wall beside the TV at a height just above the KALLAX unit’s top surface, standing three or four oversized books upright rather than stacking them flat.
Shop the Look
| Product |
|---|
| Shallow oak wood ledge shelf |
| Small brass bookend pair |
| Wall anchor mounting screws |
| Small ceramic decor object |
| Coffee table book set neutral |
14. Small Space Illusion Mirrored Back Panel Cube
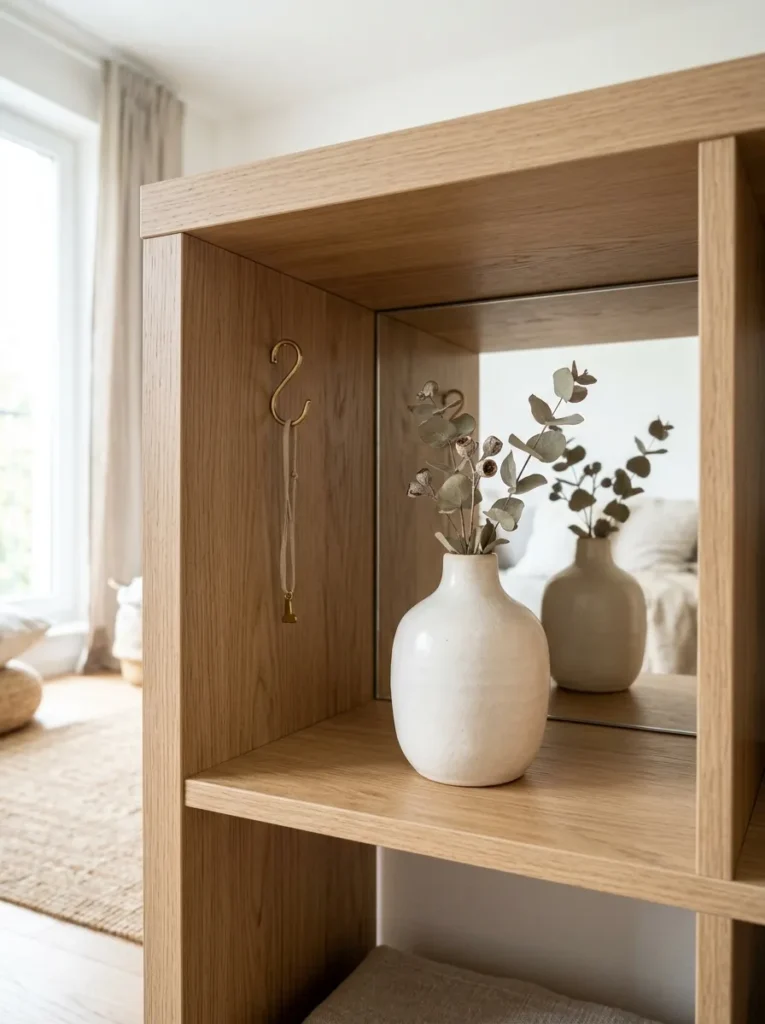
Vibe: Airy, like one small cube reflects a little extra light back into the room.
Why it works: A mirrored back panel inside a single cube reflects both light and the styled object itself, an illusion technique that makes the overall TV unit feel less visually heavy in a small room than an entirely solid, opaque row of cubes would.
How to get it: Cut a mirrored acrylic panel to fit the exact back dimension of one open cube, adhering it flush to the back wall, and style that cube with just one or two objects so the reflection stays clear rather than cluttered.
Shop the Look
| Product |
|---|
| Mirrored acrylic back panel cut-to-size |
| Mirror-safe mounting adhesive |
| Small ceramic vase warm white |
| Small brass utensil hook |
| Oak wood top surface tray |
How to Start Your KALLAX TV Unit Transformation
Start with cable concealment, not styling. Fit at least one closed-door cube for the router and cable box first, since hidden cables and clean sightlines affect how “finished” the whole unit looks far more than any decorative object placed on top or inside the open cubes.
The most common mistake is leaving every cube open in an attempt to display everything, which results in a wall of visible electronics and cords instead of a styled console. This reads as cluttered rather than curated; commit at least half the cubes to closed storage before deciding how many remain open for display.
Three items under $50 that make an immediate difference: a rear cable grommet kit for routing cords through the back panel, a single woven basket for remotes, and a canvas label tag set to keep closed-door cubes organized without opening each one to check.
A basic version — one or two closed-door cubes plus cable management — is a weekend project costing $40 to $100. A fully outfitted unit with painted doors, oak trim, and brass hardware across the whole run runs $200 to $500 and typically takes one to two weekends, mostly spent painting or applying veneer and letting finishes cure.
Frequently Asked Questions About KALLAX TV Units
Can a KALLAX unit safely support a TV mounted on the wall above it?
Yes, since the TV itself should always be wall-mounted directly into studs rather than resting on the KALLAX unit, which is only holding supporting equipment like a cable box or soundbar rather than the TV’s actual weight. If placing the TV on top of the unit rather than wall-mounting it, always anchor the KALLAX to the wall with a tip-over safety strap given the added top-heavy weight.
How do I hide cables running from a wall-mounted TV down to a KALLAX unit below?
Running cables through a paintable cord cover strip mounted flush to the wall is the most common solution, paired with a rear grommet hole cut into the KALLAX unit’s back panel so cables can enter a closed cube without being visible from the front. Keeping the router and cable box in the closed cube nearest the wall’s cable outlet also minimizes how far any cord has to travel.
What size KALLAX configuration works best as a TV stand for a small living room?
A horizontal 4×2 or 2×4 unit, sized to roughly match or slightly exceed the TV’s width, is the most common configuration since it provides enough surface length for a soundbar while keeping the unit’s height low enough not to block the screen. For narrower rooms, standing the same unit vertically beside the TV rather than beneath it can work better if wall width is limited.
How much does it cost to turn a basic KALLAX unit into a finished TV console?
A basic setup with one or two closed cubes and cable management costs $40 to $100 beyond the base unit’s price. A fully finished version with painted door fronts, oak veneer trim, and brass hardware across the entire run typically runs $200 to $500, with painted MDF door inserts being the largest single cost component.
What’s the best way to keep a KALLAX TV unit from looking cluttered with cords and remotes?
Assigning at least half the cubes to closed storage for electronics, and containing loose items like remotes in a single woven basket rather than leaving them on the open shelf surface, are the two changes that make the biggest visual difference. Routing all visible cords through a single cord cover or clip system, rather than letting each cable hang independently, also keeps the front of the unit looking considered rather than accidental.
Ready to Build Your Own KALLAX TV Unit?
Between concealed cable cubes, brass hardware upgrades, and zoned display sections, these 14 ideas cover a full range of ways to turn a basic KALLAX unit into a genuinely finished TV console. Starting with just the cable concealment cube is not a small step, it’s the change that makes the biggest difference in whether the finished piece reads as furniture or as a rack. Today, measure your router and cable box and order a single closed-door insert sized to fit them out of sight. Once that one cube is hidden away, the rest of the unit will start to feel like it’s ready for its final styling, which is usually the exact motivation needed to finish the rest. Save your favorite ideas now — especially the zoning trick of splitting the unit into tech, clearance, and display sections, since that’s what keeps a busy media wall from ever looking like just a rack of electronics.